Making custom fonts for GLCD library
Update: I've been developing a handy Qt-based tool named glcd-utils. This tool simplifies the process of creating fonts and bitmaps for GLCDs. Although it's open-source, binaries and extensive documentation are currently unavailable. Feel free to check out the GitHub page. Now, let's dive into the tutorial below.
Welcome to a quick guide on crafting custom fonts for my GLCD library. We'll be using the free MikroElectronika GLCD Font Creator. You can download this nifty tool from the following link:
Originally designed for MikroElektronika’s compiler line, this tool also pairs well with my library.
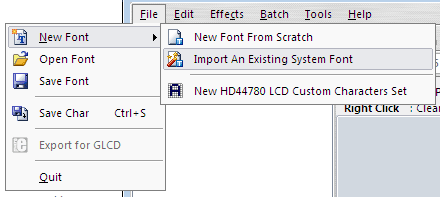
After installing the software, launch it and navigate to File -> New Font -> Import an Existing System Font.
Choose a font you're eager to convert.
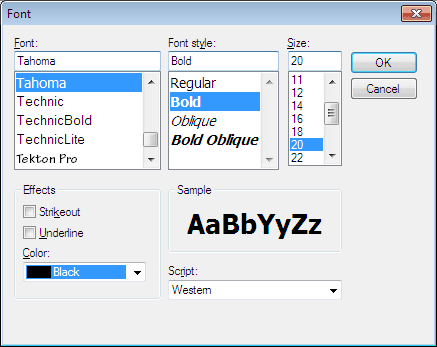
Next, select the range of characters you want to convert. For instance, you might want just numbers, or alphanumeric characters. The range 32 to 127 covers most characters typically used. Consult an ASCII table if you're unsure about which number corresponds to which character.

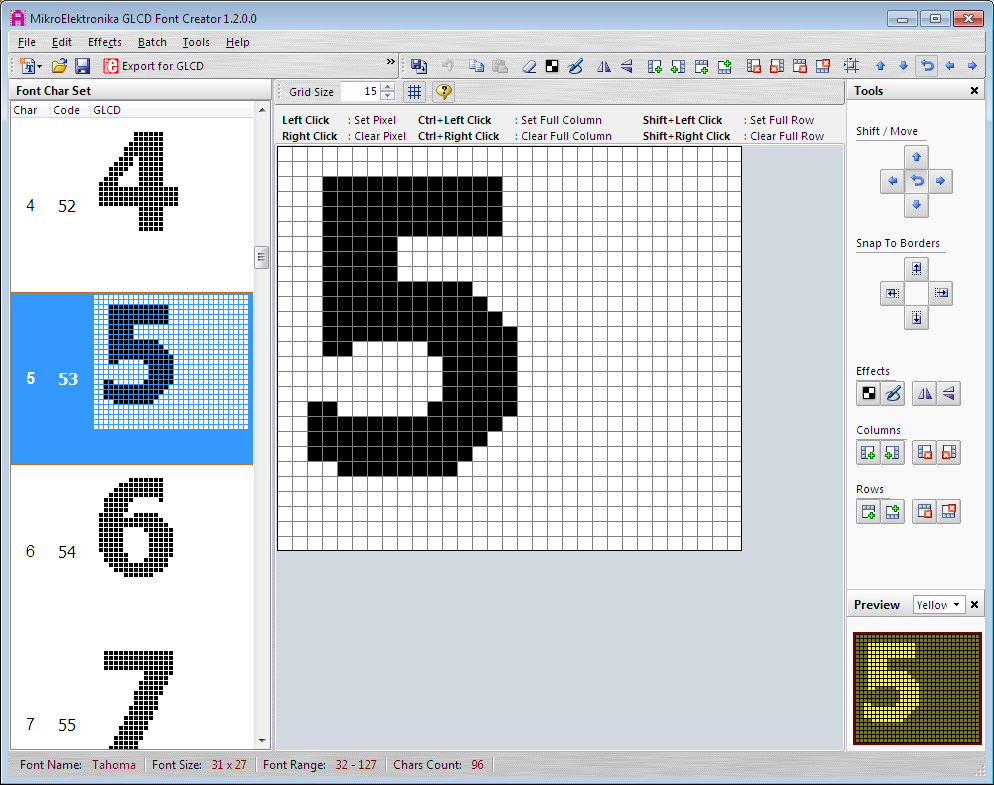
Click OK, and watch as your font begins to import into the program. You'll see a screen like the one below. Feel free to click on each character to see its pixelation. If you're feeling adventurous, you can even edit the fonts.
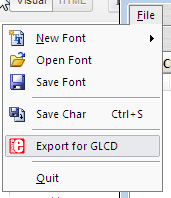
Now, head over to File -> Export for GLCD.
You'll encounter a screen like the one below. Rename your font to something descriptive. I prefer to include the start and end characters, as well as the font size, which might already be pre-filled for you. The font size represents the dimensions in pixels of the generated font. In this example, it's 31 by 27.
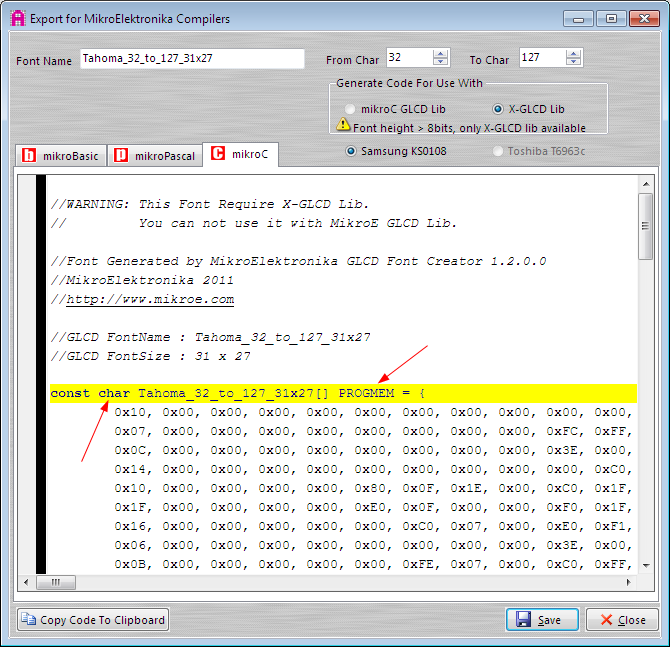
Select X-GLCD Lib (the only option for fonts with a height over 8 bits) and the KS0108 format.
Click on the MikroC tab, and make two edits to the source. Change the type to “const char”, and add PROGMEM just before the '=' character.
With the code ready, it's time to create a new font file in our application. Here, we'll use the CooCox editor to create a new file, but feel free to use your preferred method.
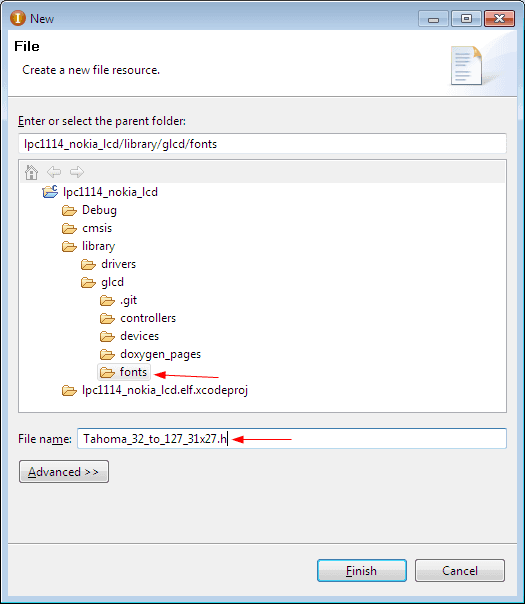
I recommend naming the file after the font description we created earlier. This will make it easier to use later. Copy and paste the previously generated code into this new file.
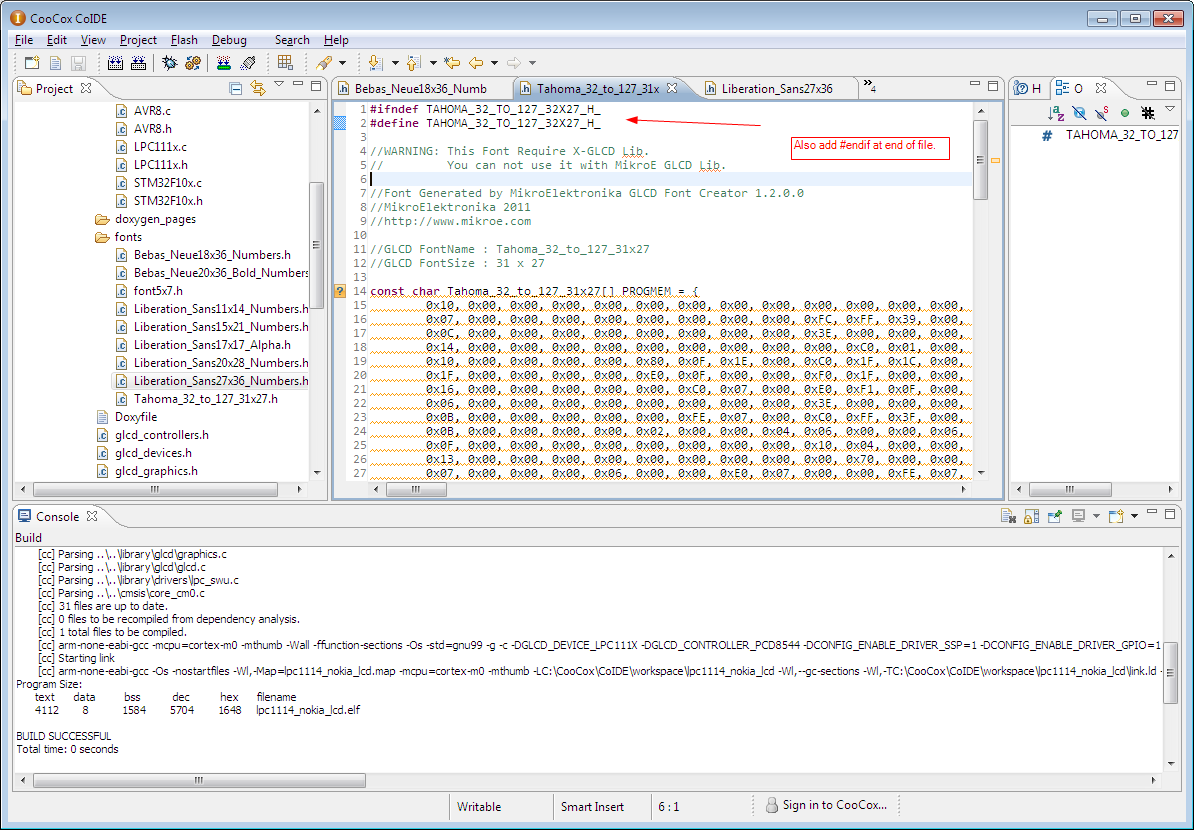
Next, we'll add some #ifdef statements at the beginning and end of the header file. Make the symbol name descriptive. Add the following to the start of the file:
#ifndef TAHOMA_32_TO_127_32X27_H_
#define TAHOMA_32_TO_127_32X27_H_
And then also add to the end of the file:
#endif
We're almost there! To use the font, include the header file in your source code:
#include "Tahoma_32_to_127_31x27.h"
Set your font like this (this is why I suggested naming the filename and font array the same):
glcd_set_font(Tahoma_32_to_127_31x2,31,27,32,127);
Note we need to set the width, height, start char and end char as parameters to the glcd_set_font() function.
Now we’re ready to use it!