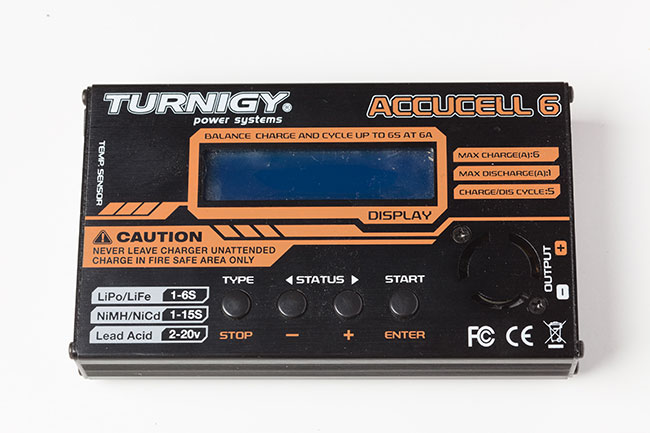
USB datalogging on the Turnigy Accucel 6 Hobby Charger
After having utilized the Turnigy Accucel-6 hobby charger for a considerable period, I developed an interest in leveraging its data logging capabilities. Specifically, my objective was to plot discharge curves for certain batteries.
A cursory search on Google yielded several articles, albeit with a significant amount of conflicting information regarding the connection of the charger to a computer. Consequently, I decided to conduct a series of tests on the charger to ascertain the accurate procedure.
The results of my investigation revealed that on the left side of the unit, there is a three-pin connector. This connector serves a dual purpose: it functions as both a temperature sensor and a serial output. When in serial mode, it transmits TTL serial data via the middle pin at 5V levels. The baud rate is set at 9600 bps, with 8 bits, no parity, and 1 stop bit (9600-8N1).
To configure the charger to transmit serial data, it is necessary to adjust the settings in the menu and ensure that USB mode is enabled.
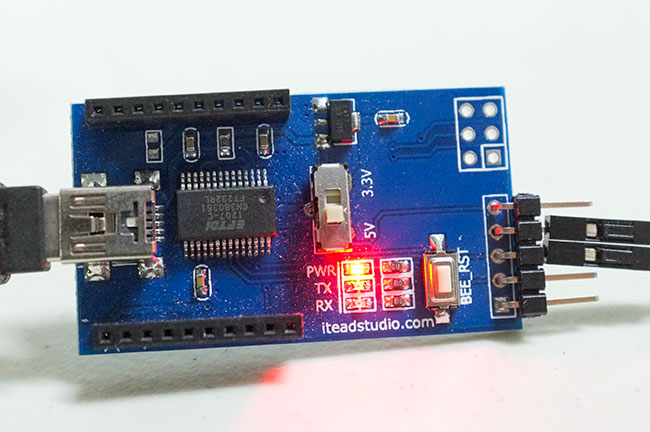
Connecting the charger to a computer requires a serial TTL to USB connector. There are numerous options available, and while some sources recommend the use of inexpensive Silab chip converters, I personally favor the more industry-standard FTDI chip-based adapters. These adapters, which are quite affordable, are typically based on the FT232 chip, and in some instances, the newer FT231X part. The adapter I utilize is the Foca, available for under 10 USD from Itead Studios. This unit features a switch that allows for the selection between 3.3V and 5V TTL levels. If you opt to use your own adapter, ensure that it supports 5V TTL.
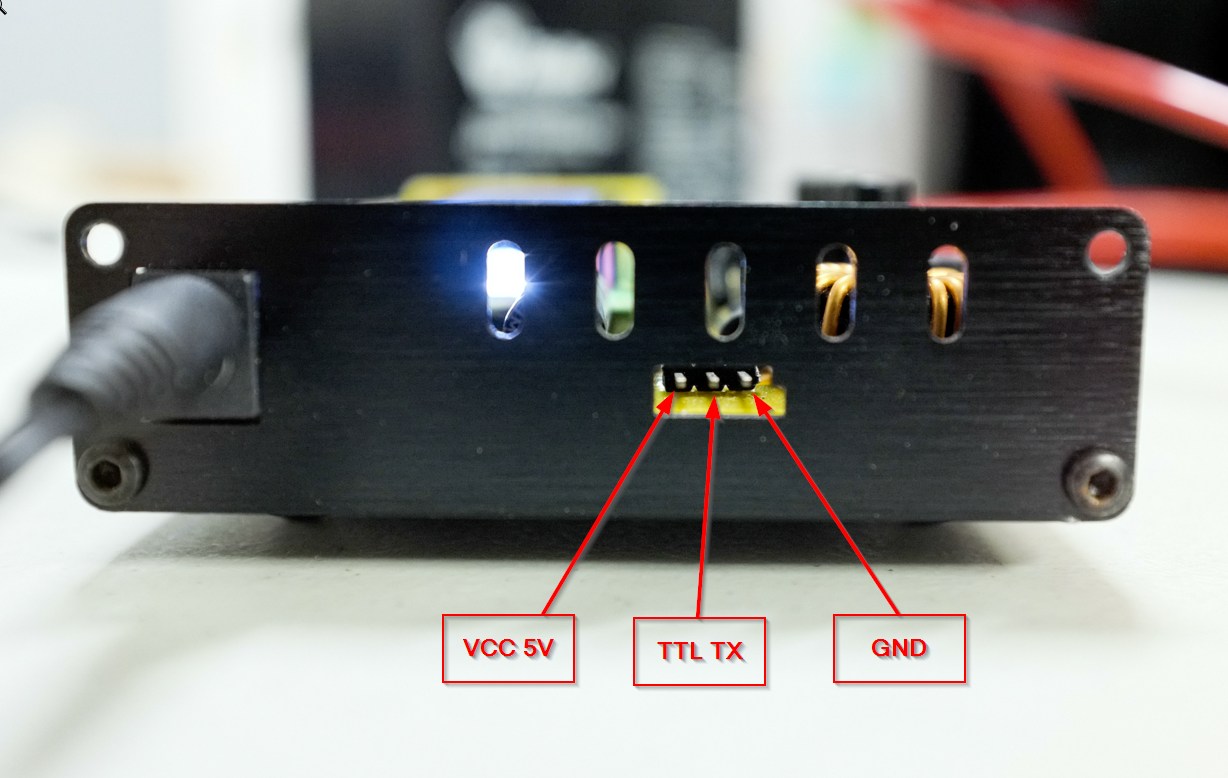
To establish a connection to the adapter, connect the GND pins from the adapter to the charger, and the adapter's RX pin to the charger's TX pin. I employ female to female jumpers, which I find to be more versatile than the fixed configuration adapters recommended on several forums. These jumpers are quite affordable, with a set of 40 pieces available for approximately $3 on eBay. Once the USB cable is connected, plug it into the computer. The charger only transmits data while it is charging or discharging, so ensure that it is set to perform one of these functions. The data is transmitted in bursts approximately 1.5 seconds apart, each 76 bytes in length. If your USB-Serial adapter is equipped with TX and TX LEDs, you may observe a burst of data every 1.5 seconds.
To view the transmitted data, use a terminal program to connect to the appropriate serial port of the adapter. The data is binary, so it will not be immediately readable. On Windows, free software such as Realterm or TeraTerm can be used. On Mac OS X, CoolTerm is a suitable option. Remember to connect at 9600 8N1.
The following is a screenshot of a dump in RealTerm when displayed in Hex+ASCII mode.
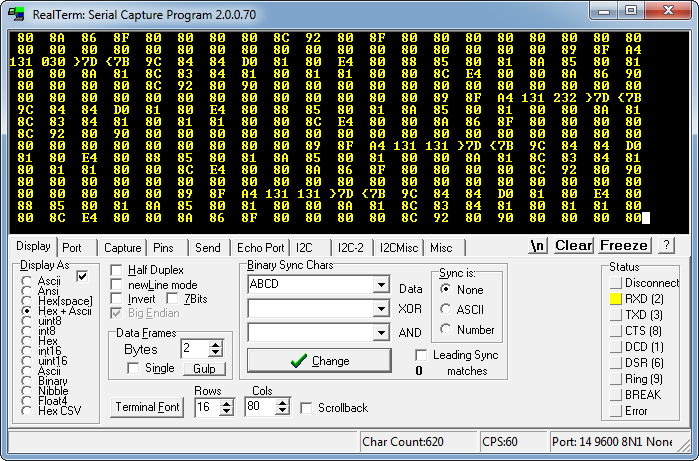
You’ll see the data packets are start with a ‘{‘ and end with a ‘}’ char. Here’s a hex dump of a typical packet.
00000000: 7b 9c 84 84 d0 81 80 e4  80 88 85 80 81 8a 85 80 |{...............|
00000010: 81 80 80 8a 81 8c 83 84  81 80 81 81 80 80 8c e4 |................|
00000020: 80 80 8a 86 90 80 80 80  80 8c 92 80 92 80 80 80 |................|
00000030: 80 80 80 80 80 80 80 80  80 80 80 80 80 80 80 80 |................|
00000040: 80 80 80 80 80 80 8a 8f  a4 31 35 7d             |.........15}|
Decoding the transmitted data could be a time-consuming task, but fortunately, Niobos has already undertaken this endeavor on his blog. He has successfully decoded a significant portion of the data. However, for the purpose of plotting a discharge curve, I am primarily interested in the voltage, current, and capacity data. It is important to note that these chargers can only discharge at a maximum current of 1A.
My objective is to capture this data and save it as a CSV file, facilitating subsequent analysis and plotting.
In this context, it is worth mentioning a software called LogView, which is capable of reading this data. Although originally in German, it offers a reasonably comprehensible English translation. The software, albeit slightly dated, can be found here. Please ensure you download the latest version, as the software will cease to function if it detects an outdated version and you opt not to update it.
To read the serial data, I have developed a Python script that reads the data from the serial port and outputs CSV data to stdout. The script requires pyserial to be installed. The script can be downloaded from my GitHub repository.
To execute this program and view the output on your screen, simply pass the serial port as an argument to the script. For instance, on my Windows machine, the command would be:
python log.py COM14
The output should resemble the following:
Time(s),Minutes,Voltage(V),Current(A),Charge(mAh)
0,45,6.14,0.1,76
1.487,45,6.14,0.1,76
2.974,45,6.14,0.1,76
4.446,45,6.13,0.1,76
5.934,45,6.14,0.1,76
7.405,45,6.14,0.1,76
8.878,45,6.14,0.1,76
10.35,46,6.14,0.1,76
11.837,46,6.14,0.1,76
13.324,46,6.14,0.1,76
14.796,46,6.14,0.1,76
16.283,46,6.14,0.1,76
17.755,46,6.14,0.1,76
19.242,46,6.14,0.1,76
To interrupt the running script, press Ctrl+C.
To display and save the data to a file, you can utilize a program called "tee." On Windows, you can find it as part of a Cygwin installation, or you can download wintee. For example, on Linux, you may want to execute:
python log.py /dev/ttyUSB0 | tee log_file.txt
On Windows, you might need to replace "tee" with "wtee."
This approach should also be applicable to other similar "4-button chargers" like the Imax B6, Bantam e-Station, etc., as they all run on similar (if not identical) firmware.
Update: Joe Rosevear, who owns a HobbyKing Eco Six charger, has reported that the data stream for that specific unit differs slightly from this. He has developed a C program to parse the data stream from that particular HobbyKing charger.